

Earth Mother Gaia
Earth Mother Gaia
Couldn't load pickup availability
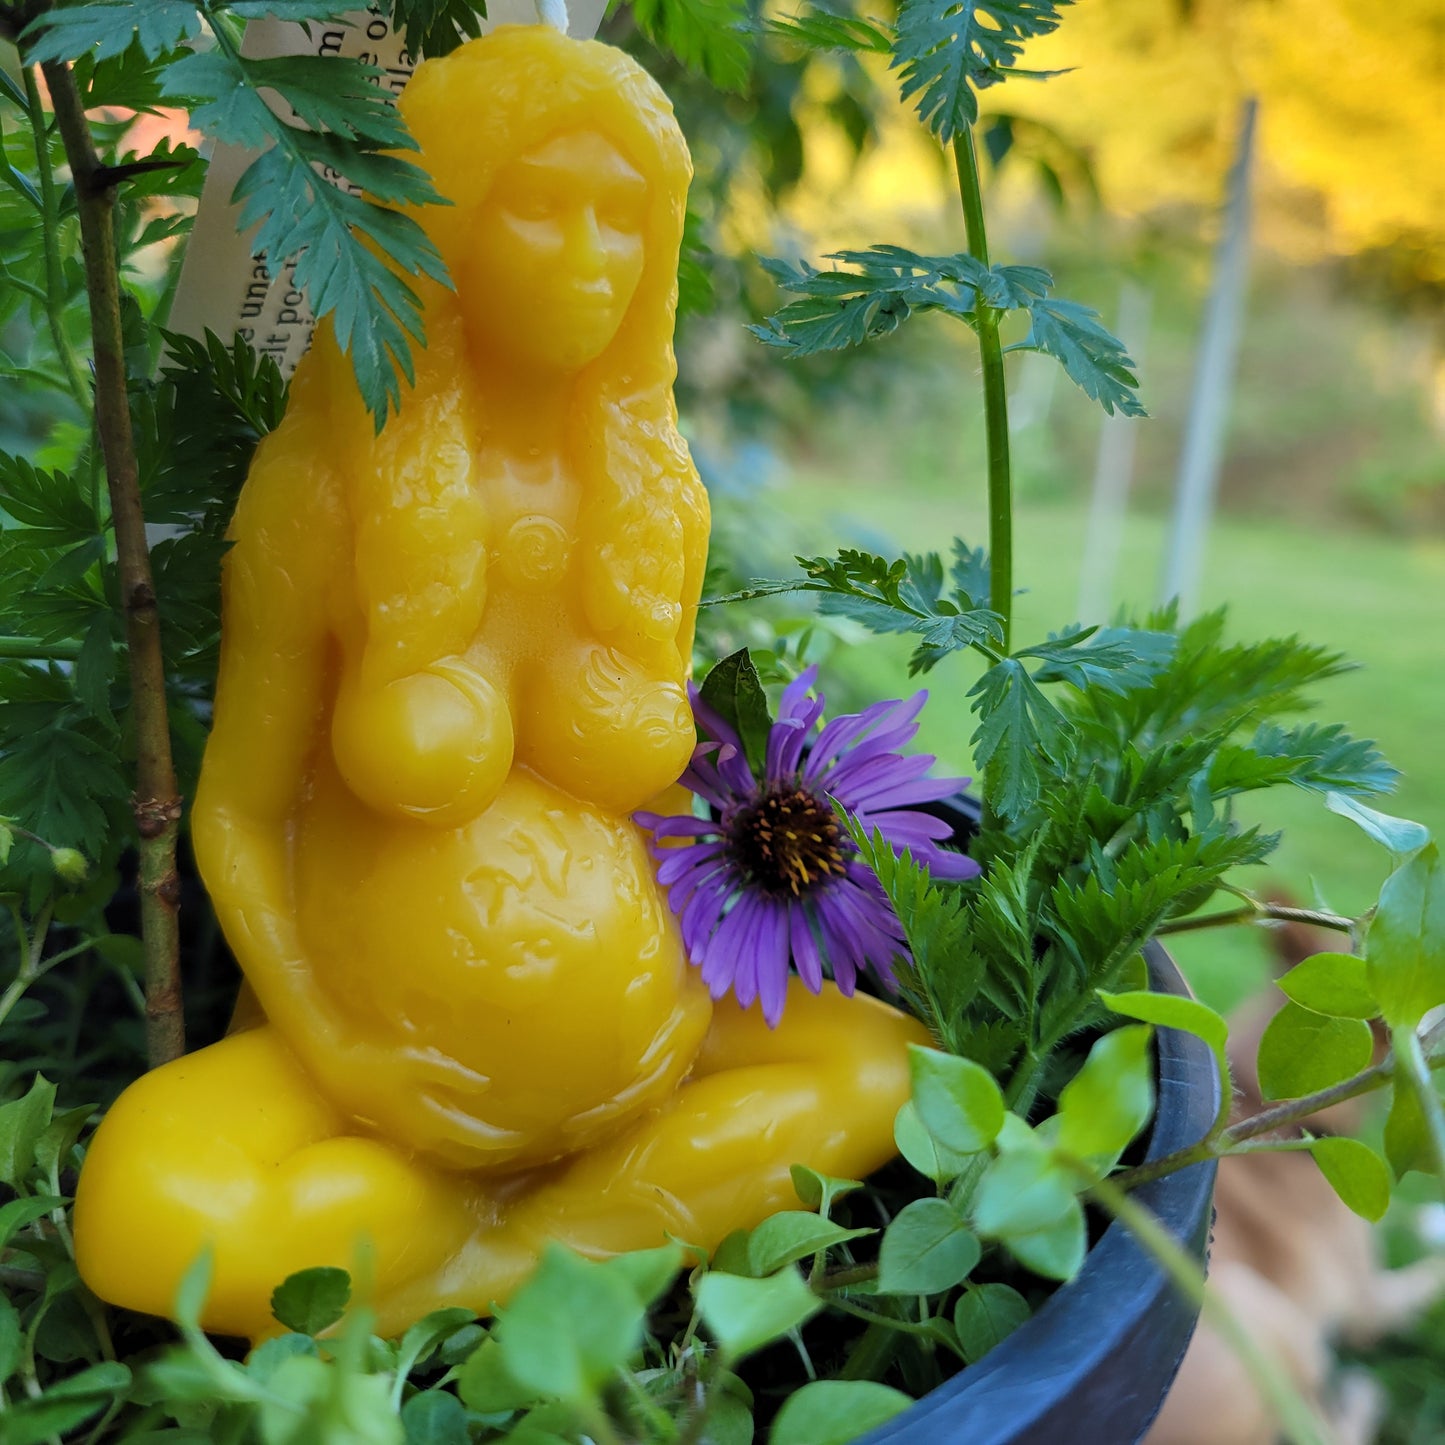
Embrace the natural beauty of Earth Mother Gaia. Adorned with flowers and vines, she represents the balance of life with the earth, moon, and sun. Share this unique candle with moms-to-be and nature-loving friends.
Burning Beeswax Tips
Burning Beeswax Tips
The first two rules of burning any candle are:
1. Never leave a burning candle unattended.
2. Always burn on a heat-safe surface.
When choosing which of your candles to light on any given occasion, consider the following:
The first burn is crucial! It sets the "memory" for the candle, so always ensure the first session achieves a full melt pool, about 5mm from the edge of the candle before you put it out. If you aren't flexible on timing, choose an appropriate candle size:
|
Candle Style |
Minimum Burn Time |
|
Taper |
15 minutes |
|
Tea light |
1 hour (best wax economy is to burn it in one session) |
|
Votive |
1 hour (use a close-fitting holder) |
|
Pillar |
3 hours+ ** |
**If a pillar candle is burned for too short a time, the candle will tunnel. A general rule of thumb is to allow 1 hour per inch of diameter, but I often recommend planning for 3 hours with all pillar candles (unless larger than 3" in diameter) during their first burning session just to be safe; then adjusting to suit each pillar as you learn how quickly the burn pool reaches the edge. This first burn timing is particularly essential for large pillar candles and large decorative candles.
Lighting your Candle:
Trim the wick to 7-10mm (about the width of your pinky or its fingernail). Hold the flame (whether lighter or match) at the base of the wick until the wax is starting to melt - you want the wick to be able to begin drawing up wax as soon as possible so that the top bit of wick doesn't get burnt off or exhausted before the flame can melt wax.
Putting your Candle Out (Wick Priming):
Always prime wick for next burn by dipping the wick into melted wax. You can use a bent paperclip or a chopstick to do this after blowing out the flame or you can just bend the wick into the wax to put the flame out and then straighten the wick back up again. This ensures the wick is full of wax and ready for the next time you light it.
When to Trim the Wick:
- Before each burn: Keep the wick trimmed to about 1/4 inch before each use to prevent a large flame, excess soot, and uneven burning. You can also do this after the wax has cooled when you put a candle out if you want to be extra prepared!
- Every 3-4 hours: If you're burning a candle for a long period of time, monitor it and trim the wick if a large carbon cap forms and the flame is extremely tall, wobbling, and emitting smoke. Sometimes this can happen before 3-4 hours have passed. Keep in mind that for some large pillar candles, the carbon cap helps throw heat and extend the melt pool. If the flame is not wobbly or smoking, you should leave the carbon cap until the melt pool has reached the edge of the candle.
Location Tips:
Avoid drafts. Burn candles in a draft-free environment to promote an even burn and prevent dripping.
If you're burning candles outdoors, consider using glass lantern-style holders or hurricane vases to provide the candles with a draft-free environment that offers them enough air to burn correctly.
I burned this candle while I was getting ready (read (im)patiently waiting) for labour to begin at the end of my second pregnancy. Its an excellent gift for a pregnant momma 😊 or for those who have blessing ways, these would be perfect.